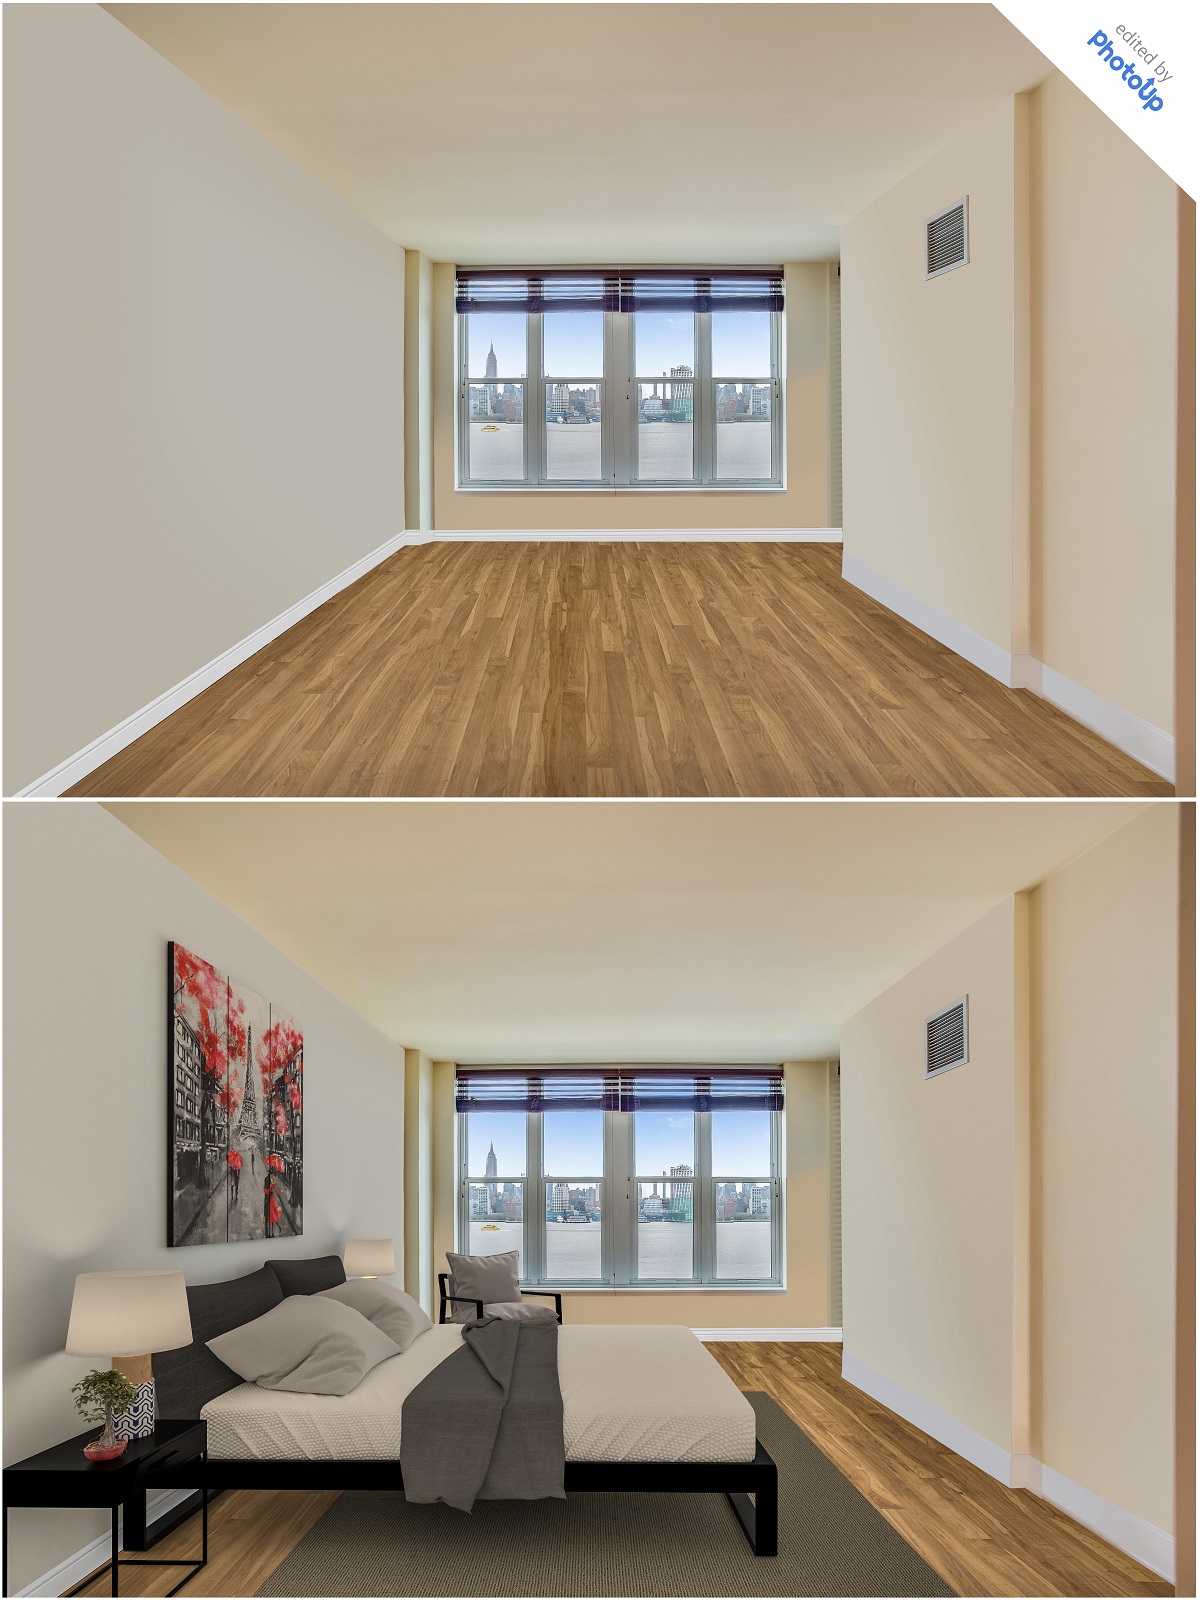
All home buyers want to be able to visualize themselves living in a new home. However, having a would-be buyer imagine their future home can be difficult if he or she is looking at an empty home.
Fortunately, there is a way to add beautiful furniture and decor to an empty home that’s fast, easy and won’t break the bank. It’s called virtual staging.
Virtual staging involves digital designers creating realistic furniture, decor, and accent pieces then integrating them into an image of an empty room. And, the best part is that virtual staging is typically faster and cheaper than physically staging a home.
Check out this article which details all of the other advantages of virtual staging.
As a real estate photographer, you’ll want to think about your process a bit differently when shooting a home that’s going to be virtually staged. Here are a few tips to make sure you’re shooting the best possible image for virtual staging:
1. Take top-quality photos
Virtual staging furniture is meticulously designed to resemble real furniture, decor, and appliances that you would find in a home. Because virtual furniture looks so real, you’ll need to take high-resolution real estate photos in order to make sure your images don’t end up looking fake.
Taking photos on your iPhone or point-and-shoot cameras are not recommended for virtual staging. Using a DSLR camera and shooting in a RAW file format will give your virtual staging editors the best change to make your images look as realistic as possible.
2. Use a camera with high dynamic range (HDR)
The wide range of lighting in real estate photography makes it necessary to take images using a DSLR (Digital Single Lens Reflex) camera. Cheap cameras or even high-end smartphones generally lack the ability to handle such a wide range of lighting.
Therefore, it’s best to use a DSLR with an auto exposure bracketing feature. This will let you use high dynamic range (HDR) imaging so your image is ready to be virtually staged.
An HDR image is a series of photos of the same subject, but each photo is taken at a different shutter speeds and different exposure levels. Each of these “bracketed photos” shows varying degrees of luminosity. Bracketed images are blended together using photo-editing software. The result is a single photo wherein all areas are in perfect exposure, emphasizing each detail beautifully.
Check out this article about HDR and how and when to use it.
3. Turn on all the lights
This is a best practice for any real estate photographer. One of the first things you’ll want to do in any home that your shooting is to turn on all of the lights in every room. This will help give the rooms a more natural and warm look. It’s also helpful for your virtual staging editors. By turning on all of the lights, the virtual stagers can better deal with shadows and shading, which helps make each room feel natural and realistic once the furniture is added.
4. Keep rooms empty as much as possible
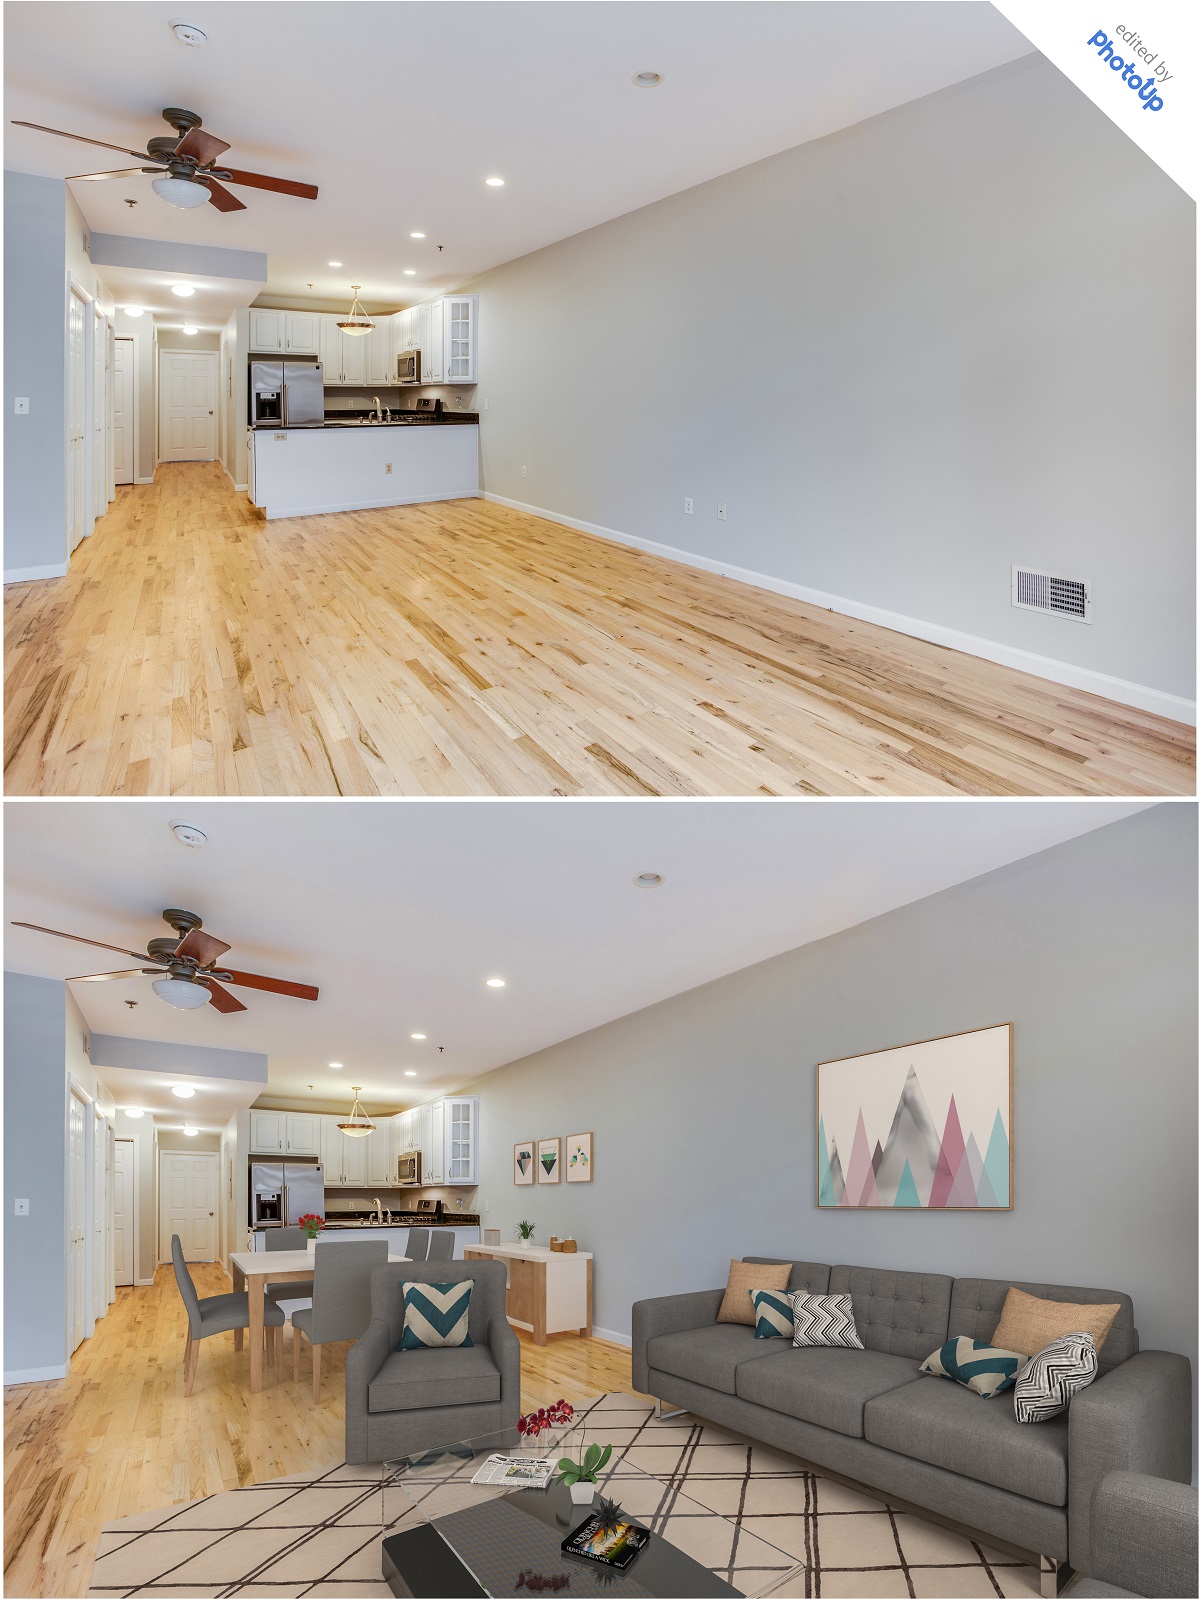
The primary purpose of virtual staging is to bring furniture and decor into a vacant house. As such, it is best to keep the rooms as empty as possible.
Take away distractions such as extra furniture, decorations, toys, and other unnecessary clutter. The emptier a room looks, the better. The goal is to make the room an empty canvas so that the virtual staging artist can work their magic!
5. Shoot in landscape
When orienting your shots, make sure the spaces are shot in landscape, not portrait. An image that is displayed in landscape mode is wider than it is tall. When it comes to real estate photography, landscape oriented photos show a lot more area, allowing graphic designers to use the maximum amount of space to add virtual furniture.
In addition, landscape photos look better on the MLS and other real estate marketing websites such as Zillow.
6. Get as much of the room as possible in your photo
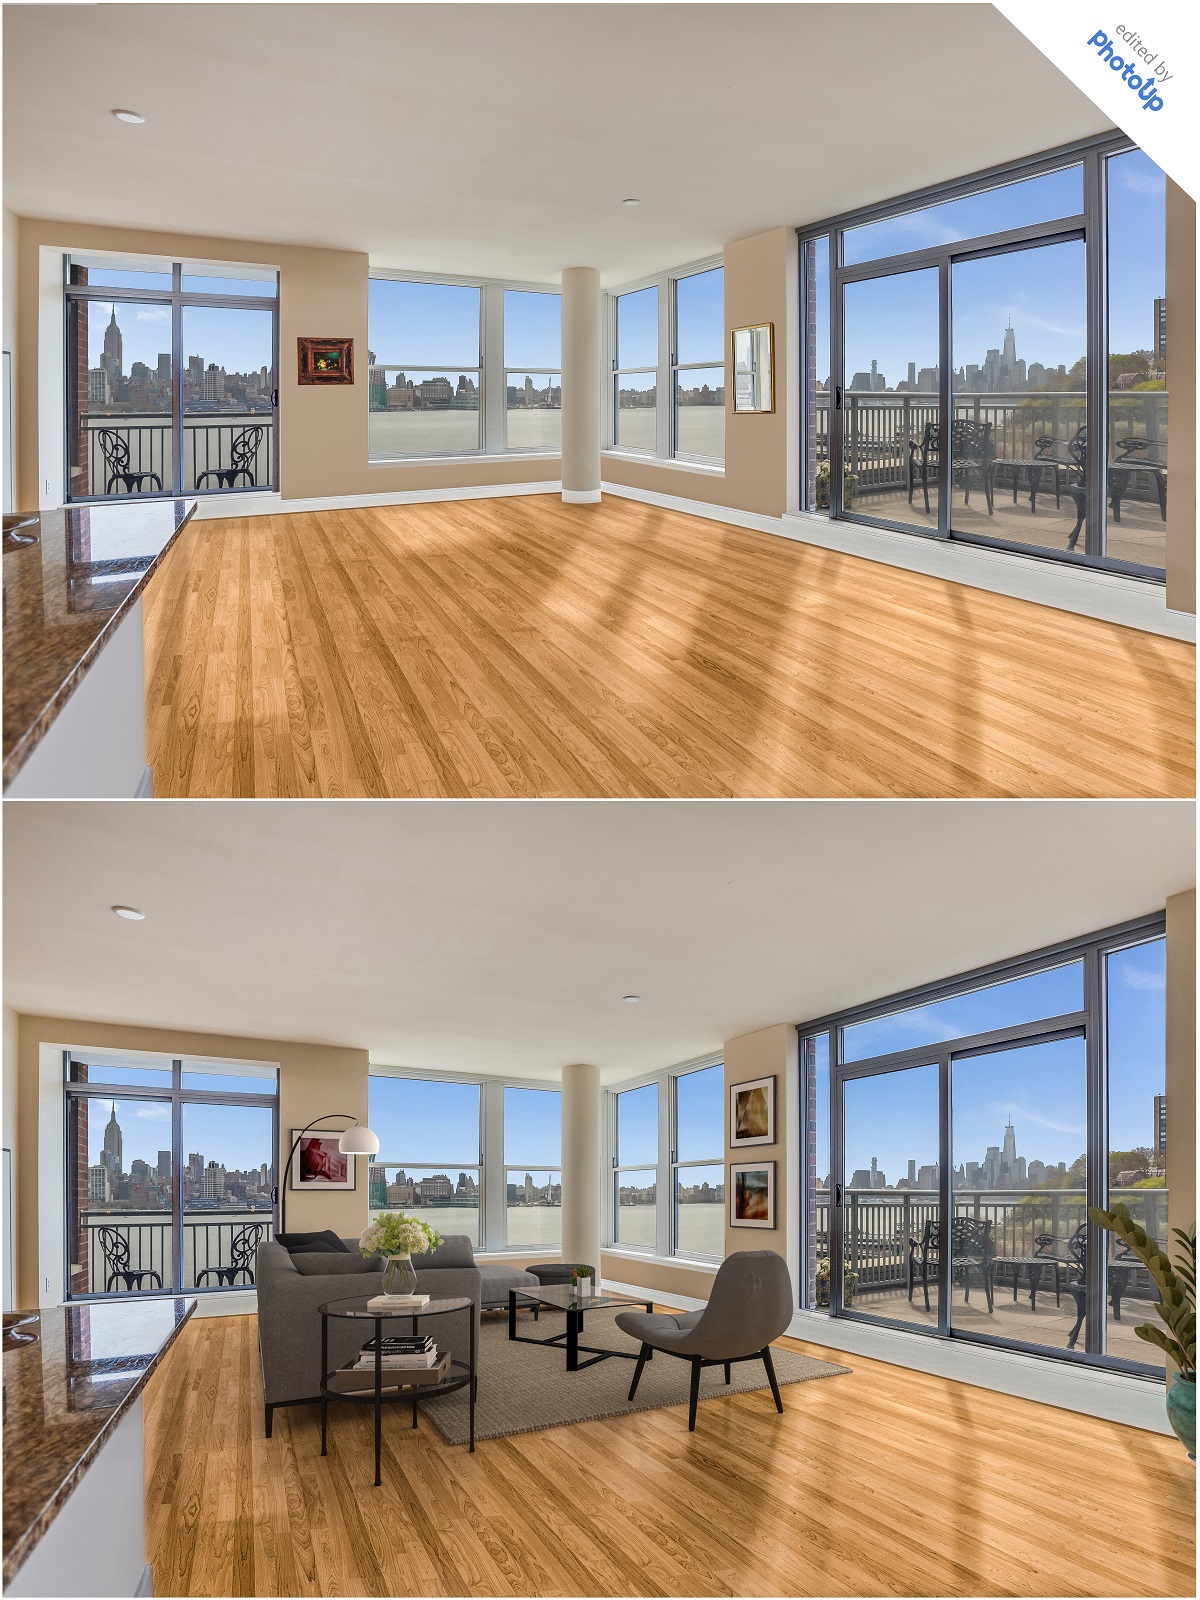
Try taking your photos slightly off the corner of the room, making sure to include the most prominent features of the space (fireplace, windows, built in shelves, etc.).
Put your back towards the “dead space” in a room and try to capture as much of the room as possible in each shot. Typically, you’ll only want to stage 1 or maybe 2 images per room, so choose your shots wisely!
7. Don’t use lenses that give you too wide a view
A lens that is at least 18 mm and at most 200 mm is a great place to start. However, do not use fish-eye lenses or ultra-wide angle lenses (Your GoPro isn’t going to come in handy here). That’s because these lenses cause a lot of distortion, making walls, floors, and built in features longer or higher than they are in real life.
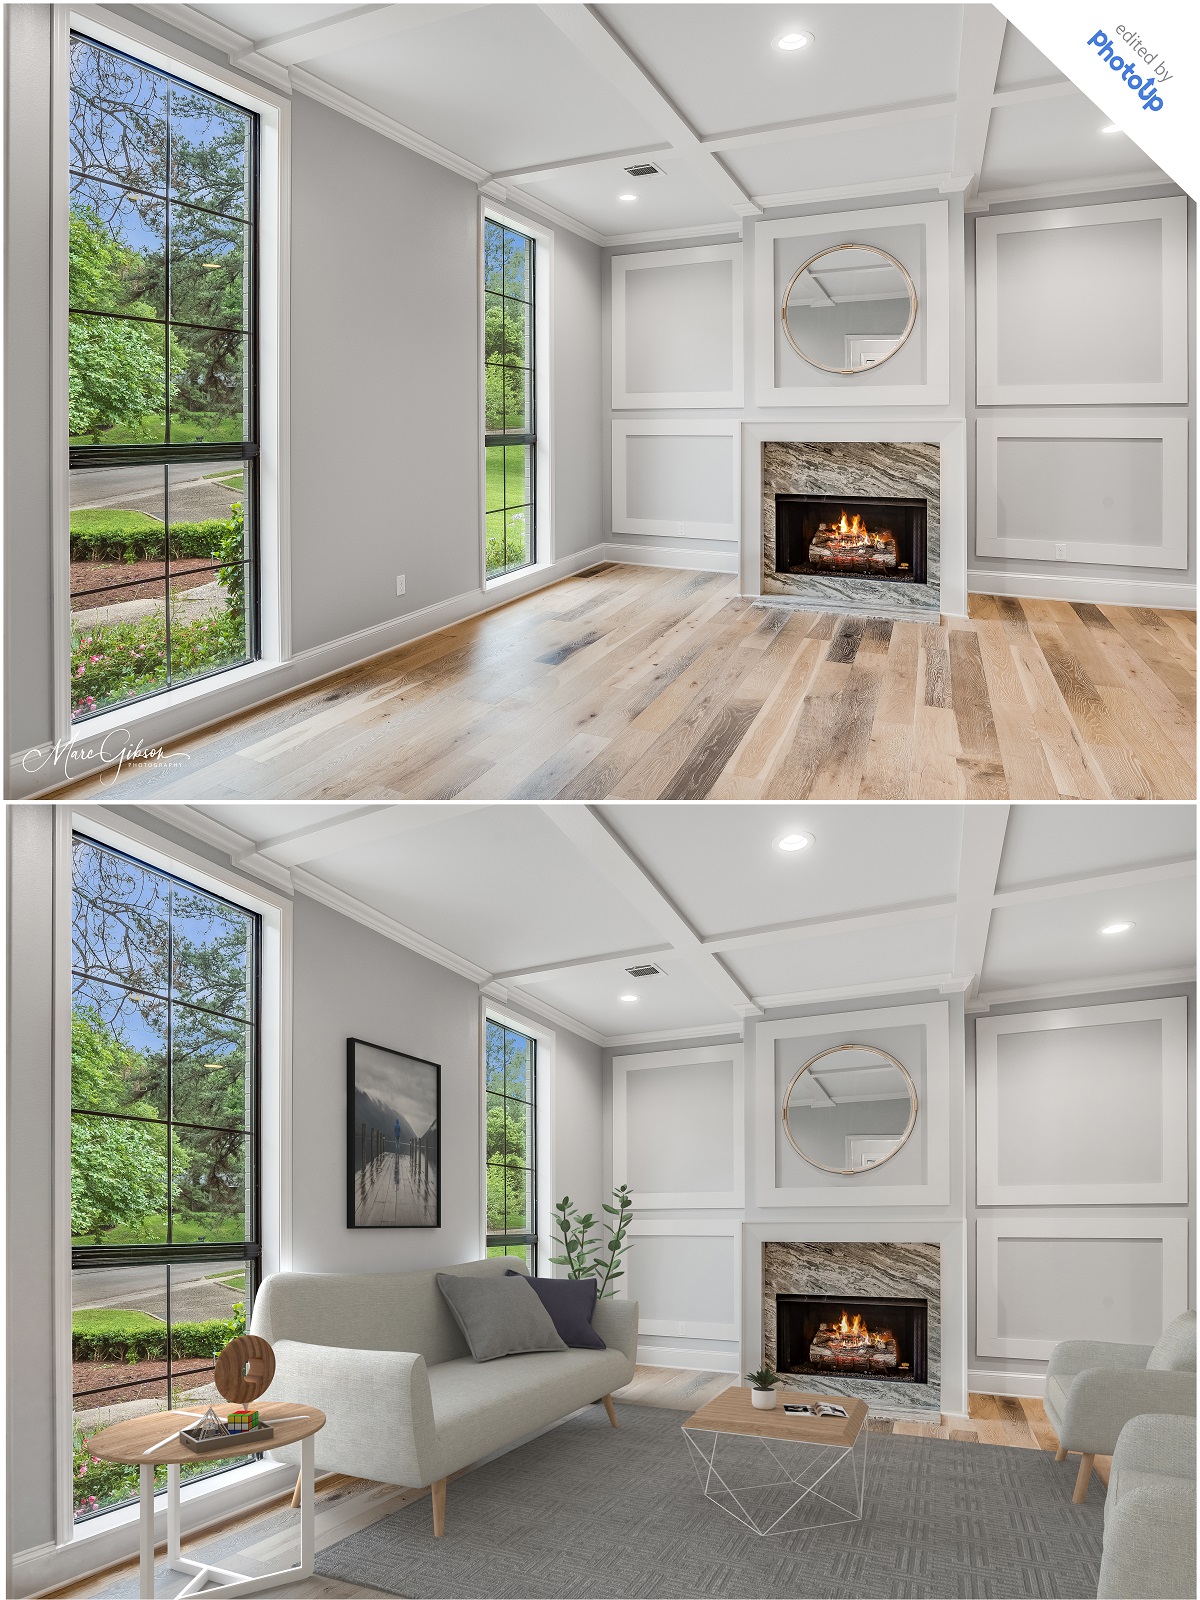
8. More room, less ceiling
There should be twice as much floor and wall area than ceiling. Remember that it’s on the floor and the walls where most of the virtual furniture and decor will be placed. Spend an extra few minutes to double check your images to make sure there is enough room to add furniture into each shot.
9. Shoot during the “golden hour”
The “golden hour” is every photographer’s ideal time to shoot. It typically happens twice per day, once during dawn (between 6-9 am) and once at twilight (around 4-7 pm). This is the time in the day when the sun is not as high in the sky and therefore not as bright.
However, be wary of windows that face directly east or west. Sunlight can shine directly through those windows, which creates harsh shadows or overexposes the image, washing away some of the key details. Here’s a golden hour calculator so you can find out exactly when the golden hour is going to be in your area.
10. Choose your best images
As with most types of photography, you will want to shoot a lot of photos using different angles and camera settings. The more photos you take, the better. It’s better to take a healthy number of photos and delete the ones that you don’t need, rather than redoing the shoot completely.
Now, that the shoot is over, it’s time to select your best photos and send them off to be virtually staged!After you’ve narrowed it down to your best images, you’ll want to send your best 1 or 2 shots of each room for staging.
Turnaround times can vary, but most virtual staging companies will get you your final images between 48 to 72 hours.
With PhotoUp, virtual staging costs 25 credits per final image (How much does a credit cost?) and turnaround time is between 24-48 hours. All you need to do is to sign up for a PhotoUp account, select a furniture set, and upload your images. We take care of the rest!