Real estate has always been one of the worlds most competitive industries. With the real estate market saturated with ambitious realtors all looking for their next listing, it is imperative that they try to get a leg up on their competition. What better way to set yourself apart from the competition than with some eye catching professional photography? Yes, a professional real estate photographer is the answer!
The need for solid real estate photography is a constant no matter the state of the economy. Even through the downturn in the United States economy in recent years, real estate photographers continue to thrive! When realtors are struggling selling homes and properties, professionally edited photos can be the difference maker in setting their properties apart from the rest.
Because of this constant demand for real estate photography, it can be an attractive career choice for some or a way to pick up some extra cash freelancing for others. However, being successful in real estate photography requires some techniques and consideration that sets it apart from other photographic disciplines. Below are a few of the amenities that you will need to begin.
Choosing the Right Gear for a Professional Real Estate Photographer
With any photographic pursuit, it is important to first consider the tools that will allow you to succeed. However, with real estate photography you may already have the gear needed to get started.
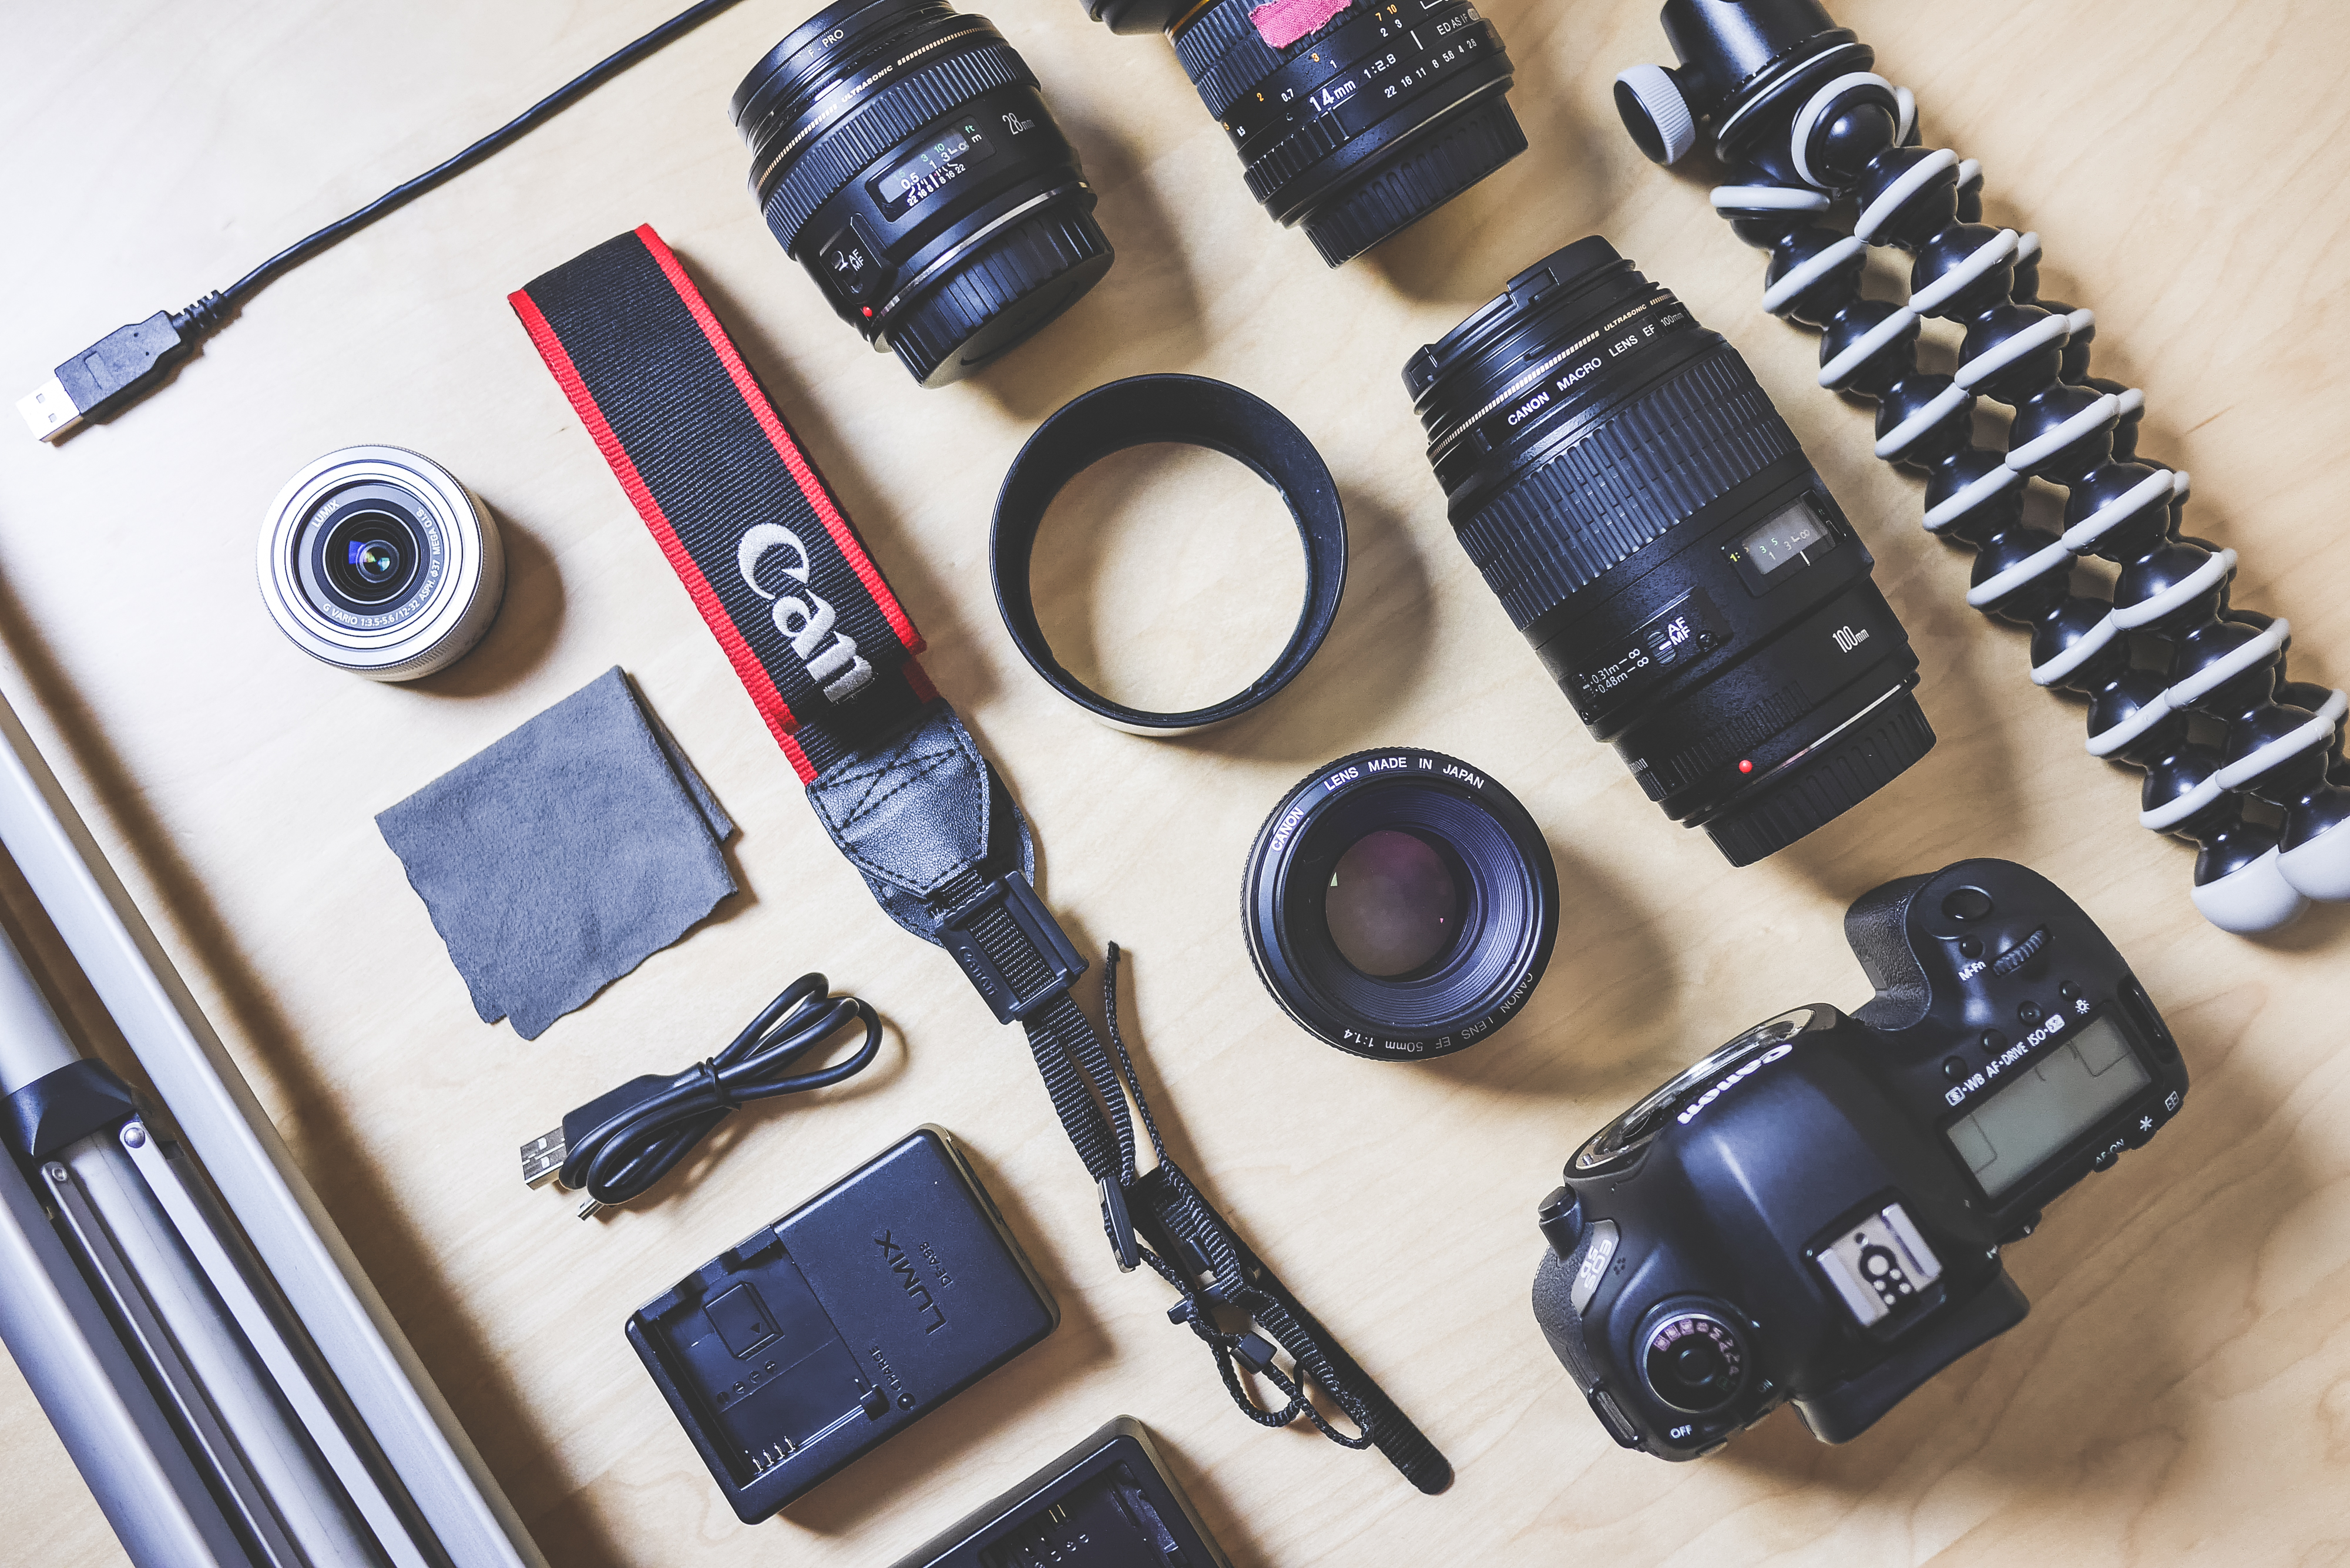
The Camera
Many photographers spend the bulk of their budgets on the camera body. However, real estate photography is possibly less demanding of the camera itself than most other photography niches. You don’t need the latest and greatest camera to get solid shots.
For most all of your real estate photography needs, a standard digital single-lens reflex (DSLR) camera will do the trick. You’ll always benefit from a camera with good high ISO performance, and the more recent the camera, the better performance you will likely have.
If you already own a modern DSLR, you’re unlikely to need to upgrade to get started in real estate photography. Save your budget for the other items discussed below.
The Lens(es)
Your lens may be the most important piece of equipment in real estate photography, and a wide angle lens is your best bet. You won’t always be shooting massive multi-million dollar mansions, so you will want to make sure that your lens can accommodate all of your properties shapes and sizes.
A wide angle or ultra wide angle lens is key to real estate photography success. The perspective provided by these lenses allows you to put the viewer in the midst of the scene and make them feel as if they are actually in the room itself.
Accessories
The above items are all important for a real estate photographer, but don’t overlook the number one item that can improve your real estate shots: a tripod. Often times, you will be in relatively low lit environments and a tripod can make the difference. You will be stretched to shoot low ISO images for top quality, plus reduced aperture for greater sharpness and increased depth of field. Obviously, a trade-off must occur, so shutter speed is often the odd man out.
Now that you have the proper camera, lens and tripod, you may just want to add some lights to your arsenal. Although not imperative, lights can come in handy when shooting homes that may be poorly lit.
The Shoot: What a Real Estate Photographer Needs to Know
Now that you’ve got all of the tools needed to succeed as a real estate photographer, we can begin talking about the shoot itself.
When working with your clients, ensure that their needs are covered. If this is your first time shooting real estate photography, ensure that you have a list of shots showcasing the property as the realtor or owner wants it to appear. The client will almost undoubtedly want the main living areas, bedrooms and bathrooms covered.
As a real estate photographer, planning a real estate shoot means setting expectations for the shoot and for your clients as early as possible. When working with realtor clients, you have to communicate that the home needs to be in photo condition so that you can properly do your job. This is particularly important when photographing a home with people still living in it.
If the home is currently uninhabited, the real estate agent will likely want to be there during the time you are photographing the home. This arrangement requires communicating to the agent the amount of time he or she will need to be present during the photography process.
Make sure that you are providing your clients with both web based and full resolution photographs. With busy schedules, real estate agents often don’t have the time or tools needed to process images, so ensure that what you are exporting is fit to go directly to their listing systems. Realtors will typically know what type of files they need in order to use them for their listing. Make sure to get this information up front so you know what type of files to send back to them.
Capturing The Scene
So you’ve found a realtor that needs your services, you bring your equipment and you show up to the home, ready to begin shooting your first home. Let’s walk through some steps toward getting the perfect shots.
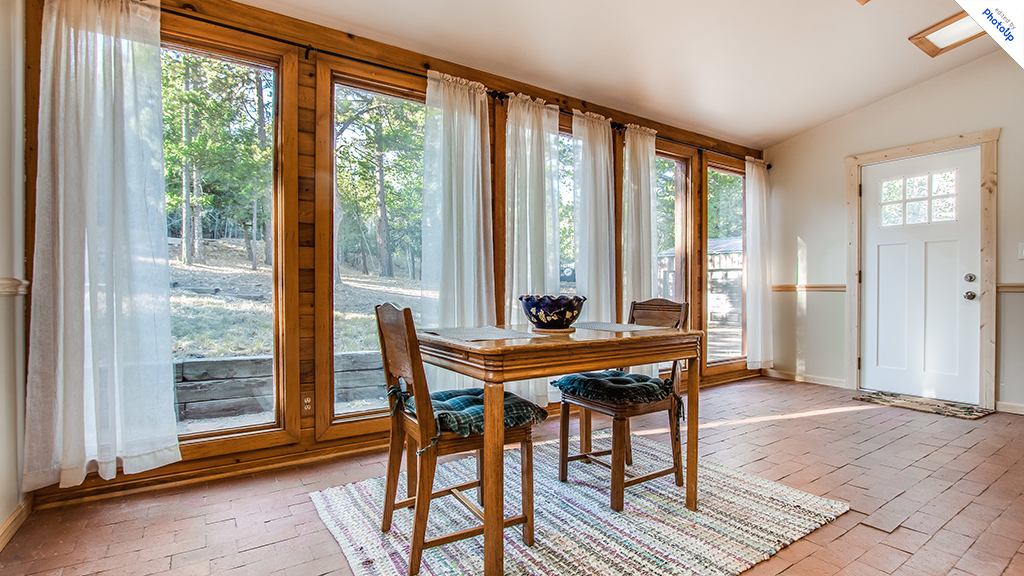
The first thing to do is to survey the interior. You already have a good idea of the rooms you need to photograph, so dive into the scene. Go ahead and setup the tripod and begin composing the scene in a way that showcases the beauty of the home. This stage requires a certain appreciation for architecture and design. Try your best to get as many of the features of the room in the picture as possible (i.e. fireplace, windows, ceiling fan, television, etc.).
After composing the scene as you want it, it’s a great idea to shoot a series of bracketed images. With bracketed images, we shoot photos from the same spot, but with varying exposures. We’ll take photos that range in brightness and darkness in order to merge them later. Bracket images are typically shot in groups of 3, 5, or 7 shots. Software like Photoshop allows us to merge photos and combine the highlighted and shadowed regions in order to capture a huge range of exposure. Other systems like Lightroom allow us to adjust the contrast, brightness, sharpness, and color of the photos. Some of the photo editing software will even allow us to replace grey skies, add fire into fireplaces, and even remove unwanted objects within a picture.
Final Thoughts
Real estate photography is a field that has constant demand and provides new and exciting work opportunities for just about anyone. Taking high quality photos of beautiful properties can be an exciting job that allows for a flexible schedule and the ability to expand your photography skill set.
Want more information on how you can get started taking real estate photos in your area? Shoot us an email at support@photoup.net to find out how you can begin shooting and editing real estate photography in your area.