High-quality images showcase a listing quickly and professionally, providing consumers with a convenient digital tour of properties they would like to buy. This leads us to the question: What gear do you actually need for real estate photography? Let’s find out how you can make your photos look appealing yet realistic.
To ensure high image resolution, good composition, and proper lighting, real estate photographers need essential tools like cameras, lenses, tripods, and lighting equipment. Photo editing software is also equally important as it helps you retouch and improve the final results.
Camera Body
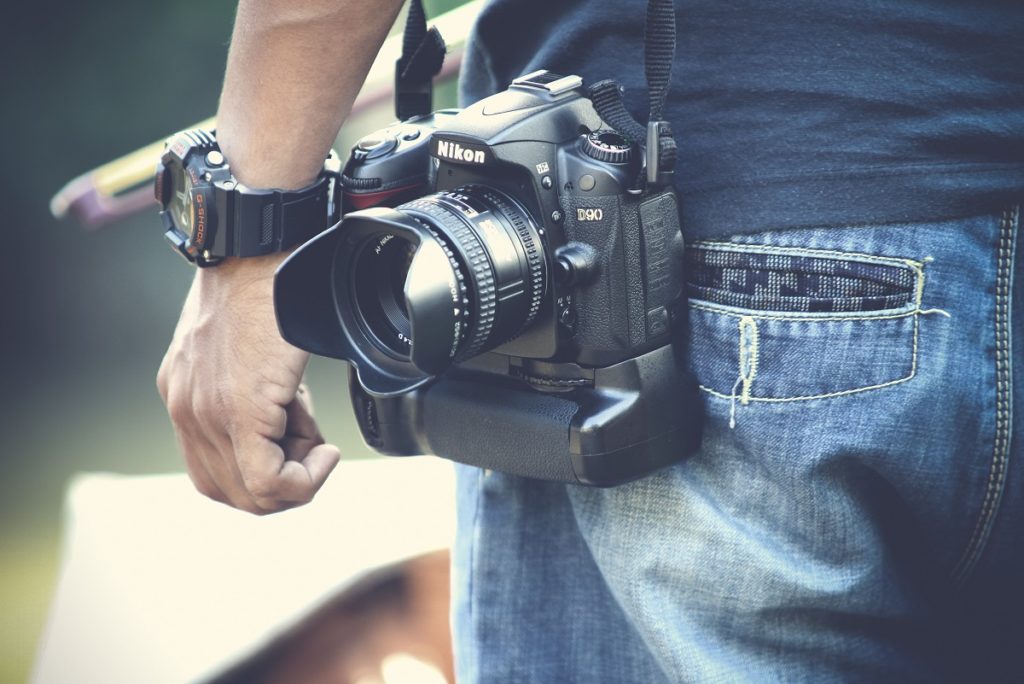
The good thing about real estate photography business is that it’s less demanding in terms of the camera body than other niches. This means that you don’t need to as heavily rely on the durability of the body (however, it should still be able to withstand basic falls and light weather).
While you’ll likely use additional lighting to enhance the scene, picking a camera body that has an excellent sensor for shooting in low light conditions is important.
Additionally, look for bodies with full-frame sensors. Even though these cameras can be more expensive, they’re well worth it, even if you are in the beginning stages of your photography career.
A camera with a full-frame sensor provides a 1:1 ratio with lenses, which prevents you from losing valuable image space when shooting. This is especially important when shooting smaller spaces! Cameras with APS-C sensors have a narrower and cropped view, and this can greatly limit you when it comes to selling a space through photos.
Recommended Camera Bodies
Lenses
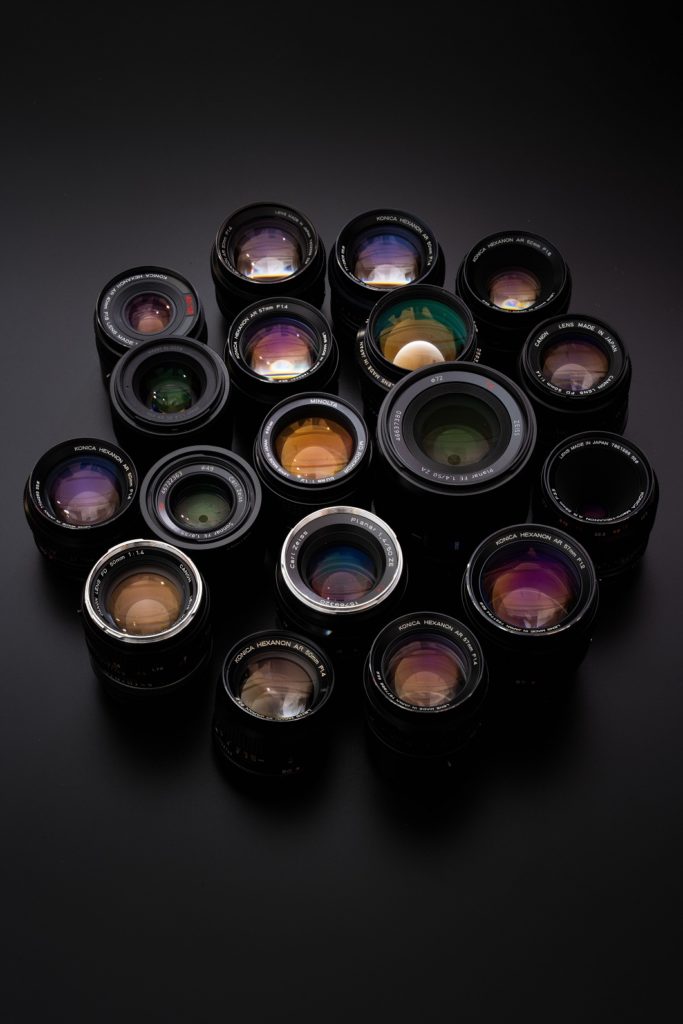
Real estate photography aims to help buyers imagine properties and make decisions fast. This means viewers need to see everything, ranging from confined interiors to broad exteriors. Thus, you’ll need lenses with varying focal lengths to achieve that goal.
The most important lens that every real estate photographer needs is a wide angle lens. If you are only able to afford one lens, make sure it’s a wide! If you show up to a photoshoot with a standard 50mm lens, you’ll quickly run into issues of how to properly showcase bathrooms, bedrooms, and even some kitchens and living rooms.
Look for a lens such as a 16-35mm or 14-24mm. Unlike other types of photography where the aperture can play a huge role in your purchasing decision, it’s not as critical for real estate. There’s no need to splurge on lenses that have apertures like f/1.2 or even f/2.8, because you actually want a majority (if not all) of the image in focus, and you don’t need a super fast lens.
Another lens you can consider adding to your camera bag is a tilt-shift lens. This can be really useful for making images with several vertical lines actually look straight. Without a tilt-shift, certain real estate photos can look distorted. While you can use tools like Photoshop and Lightroom to fix this while editing, a tilt-shift lens can help save time and allow you to get the image right immediately.
Recommended Lenses
Flash and Diffusers
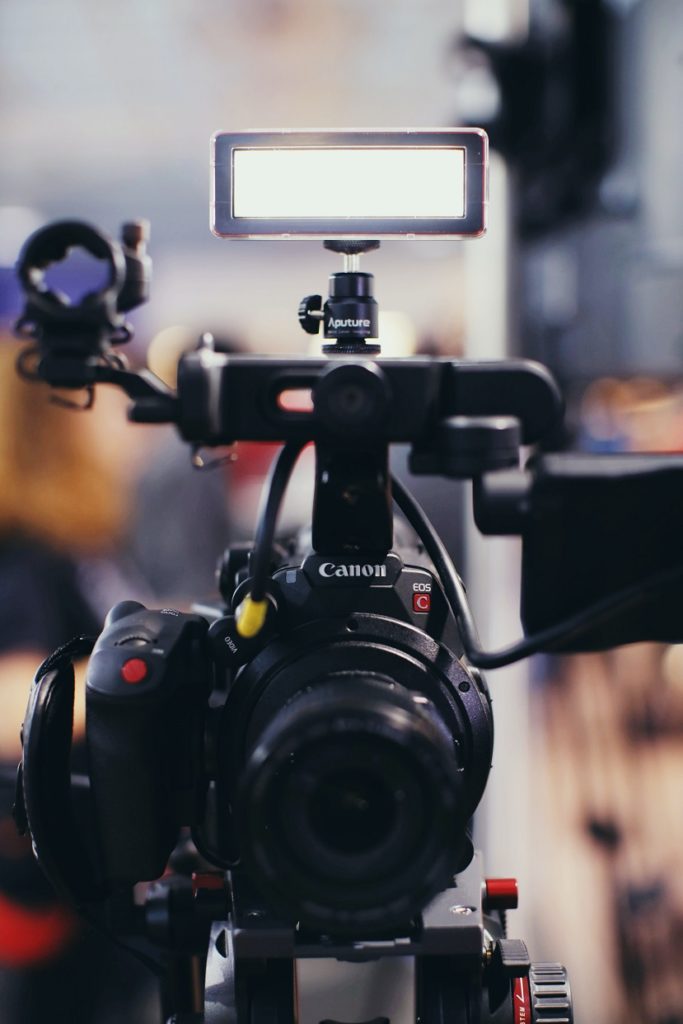
Lighting can make or break your real estate photos, and it’s typically the easiest way to separate the amateurs from the pros. Even if you are shooting with tons of natural light, you will still likely need to use at least one flash to balance out the photo and reduce heavy shadows.
The simplest, most affordable way to add lighting is to use a single flash. While a direct bare-bulb strobe can work, it may create bright spots and harsh shadows.
In this case, you may bounce the flash off the ceiling to fill a large part of a room with soft, even light. Another option is to use a diffuser or an umbrella to illuminate subjects directly. You can also set up multiple wireless flashes to highlight the best features of a room.
In addition to using flashes and diffusers, here’s some additional lighting gear to consider using:
- Light stands
- Wireless transmitter and receivers
Recommended Flash Equipment
Tripod
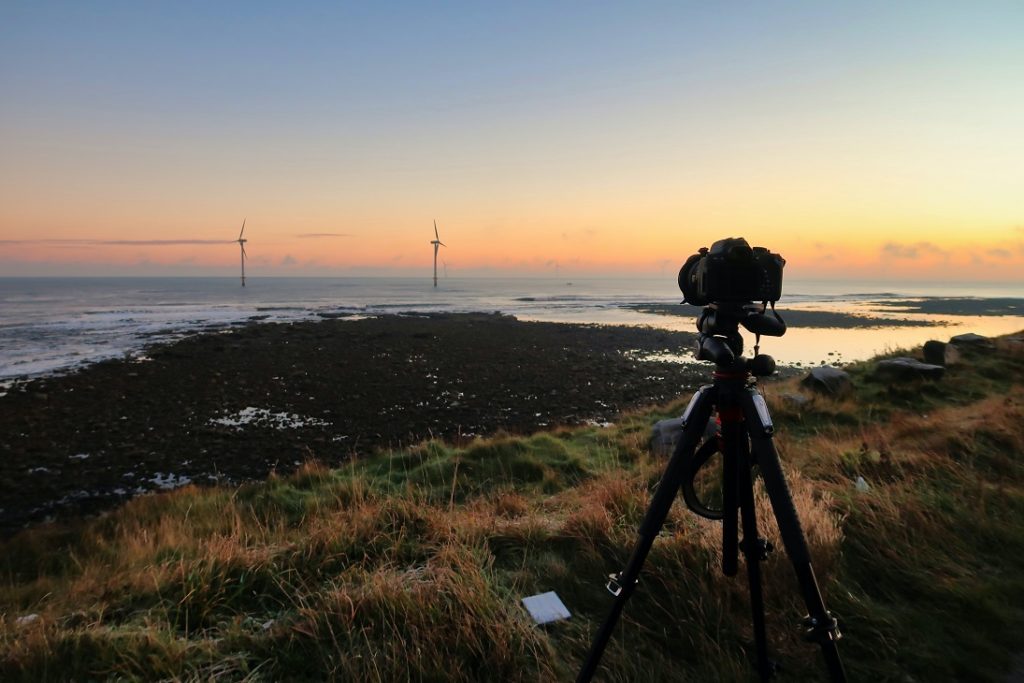
A tripod is another crucial piece of gear for real estate photography due to the stability and support it can provide for various types of shoots. You should never show up to a house without a tripod, even if you think the lighting won’t be an issue.
A good and adjustable tripod helps make interior and exterior images look clean and sharp. If you want to create HDR or composite photos, a robust, heavy tripod lets you frame images consistently from one shot to another.
Recommended Tripod
Photo Editing Software

Clutter, saturated colors, poor lighting, and harsh shadows can ruin an image. Some clients may also want virtual staging, which is an in-demand marketing tool. This is why real estate photographers need to learn photo editing programs like Adobe Photoshop and Lightroom.
A post-processing software enables you to remove blemishes, correct colors, reduce noise and blur, add elements, and merge photos. Likewise, you can modify brightness, sharpness, contrast, and white balance to achieve the desired look and feel.
If editing isn’t something you want to hassle with, you can also consider outsourcing this part of your business to professional editors. This way, they can professionally retouch your images while you focus on growing other areas of your real estate photo business!
Bonus Gear: Drone
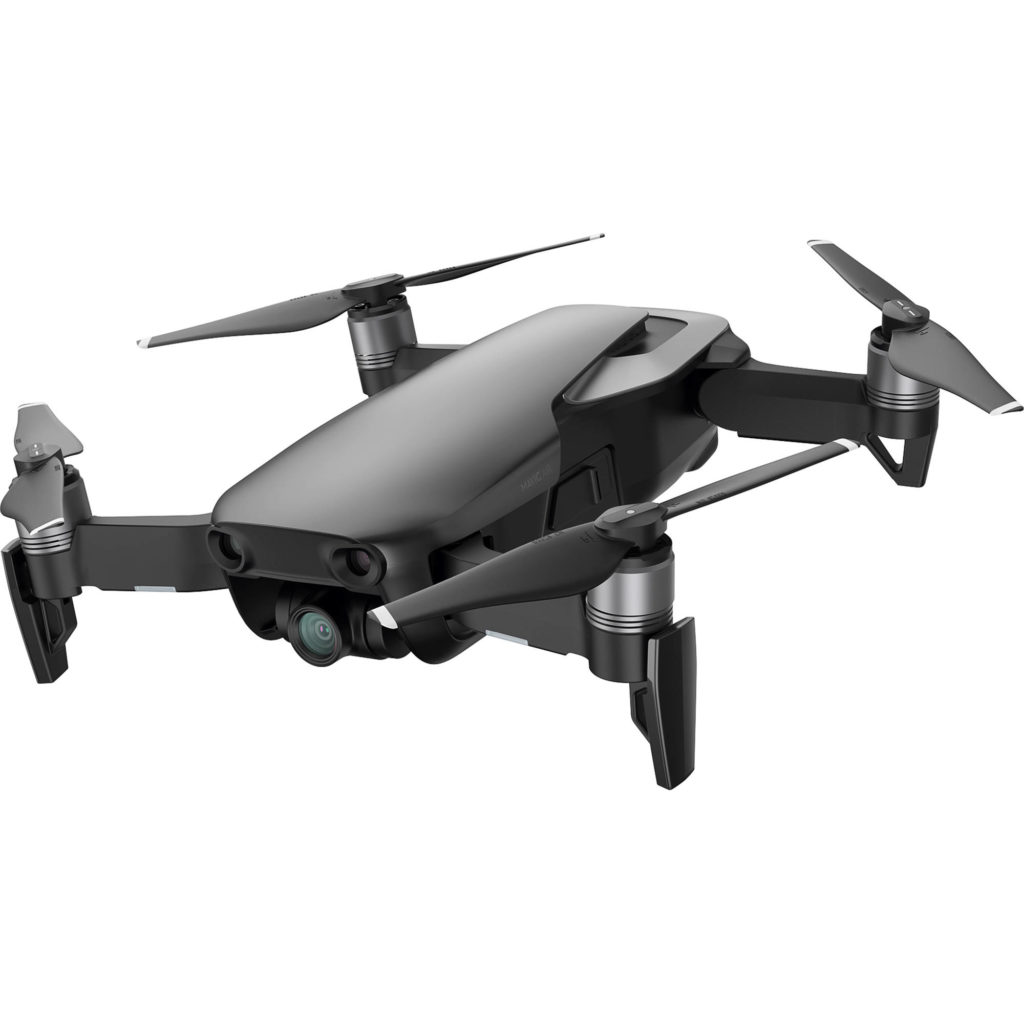
While not completely necessary, having a drone can set you apart from other real estate photographers. Drones give you the ability to capture some incredible images of the property that you couldn’t get with your standard gear. If you’ve already got the essential gear and are looking for something extra to add to your bag, picking up a drone can be a great addition.
Recommended Drones
Conclusion
With the right equipment, creativity, and skills as a photographer, you can capture high-value images and make real estate photography a profitable niche.


