Beautiful interior images help promote an interior designer’s creative skill, enable a real estate agent to sell properties faster, or showcase an architect’s innovative building design.
The ability to take top-notch photos of residential and commercial interiors is one of the most challenging and rewarding aspects of real estate photography. There are many factors to consider in achieving a great shot. Here are a few practical tips to help you get the perfect interior photo:
1. Learn how to use light.
Nothing is more important in all forms of photography than light. As the photographer, you have to identify what light you have to work with and then decide how you want to use it. You might decide to use only the natural light provided from windows or doors or you might decide to supplement the natural light with artificial light from lamps and off camera flash or you might decide to shoot in a bracket, capturing exposures using multiple light sources to be digitally blended together later. You should also learn how the color, clarity and intensity of light changes between different sources of light and with natural light, throughout the day. Understand light and how you want to interplay light and shadow and you’ll be well on your way to creating great interior photographs.
2. Spend time to rearrange and organize.
When we walk into a property, we give little thought on imperfections such as clutter on countertops, magnets on the fridge, or cars parked in the driveways. But in real estate photography, these flaws can easily become noticeable.
We recommend that you create a checklist of things to do before the shoot. Send the list to the homeowner or realtor before you arrive. This saves you a lot of time. When you arrive at the property, look for clutter or things that haven’t been moved or put away. Tidy these if you can after asking your client’s permission.
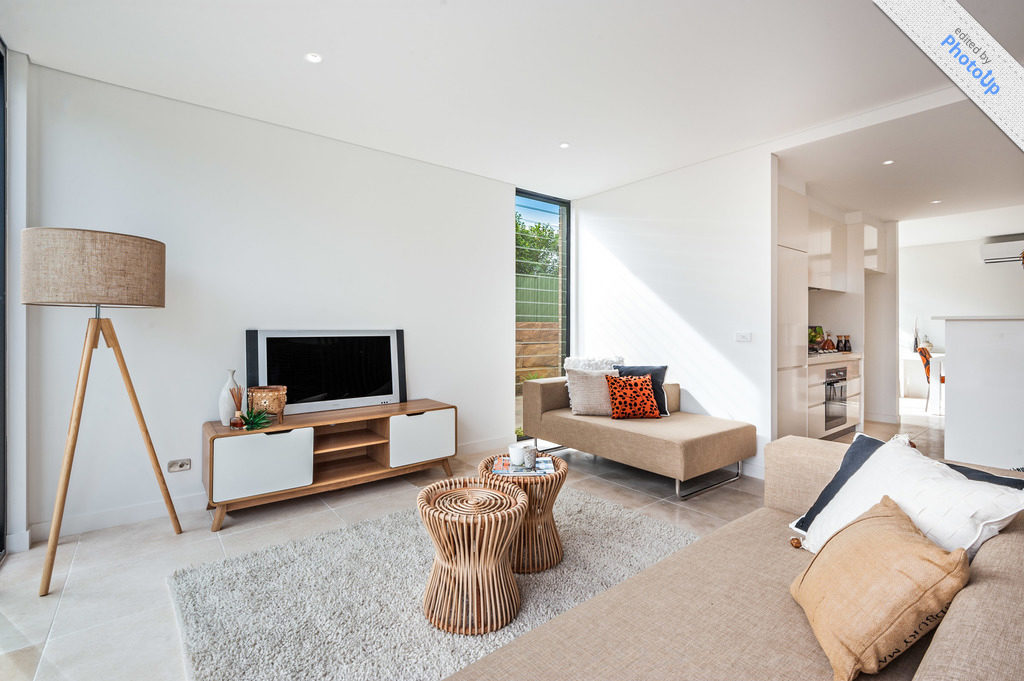
3. Use a wide-angle lens to capture the whole room.
One of the biggest differences between a professionally done real estate photo and an average-looking one is the use of wide-angle lenses. Most camera brands offer a 16 to 24 mm lens which enables you to capture more of the room. These lenses are extremely helpful in tight spaces, and they can make any room look bigger. Now that’s something your agents and homeowners will love!
4. Make sure lines are perfectly aligned.
Align the room’s horizontal and vertical architectural elements with your camera’s compositional grid. If the grid is absent, align the room’s framework against the horizontal and vertical lines of the viewfinder.
The slightest tilt will make it appear that the room is falling or tipping away from the viewer. Fortunately, slightly tilted shots can be corrected using various real estate photography editing tools and techniques. You can also get in touch with a third-party photo editing company that specializes in high-quality image retouching specifically for real estate photography.
5. Learn about the exposure triangle.
Getting a well-balanced exposure is the first step to a great interior photo. Get to know your camera’s exposure related settings: aperture, shutter speed, and ISO; then learn to use them in conjunction with each other to get the perfect image.
For full room shots, you’ll want to use a large enough aperture so that most of the room is in focus (F8 to F16) but small enough that you can keep your ISO low enough to avoid noise. Your shutter speed should be fast enough to avoid camera shake, especially if you’re not using a tripod. Mastering the exposure triangle is your first step in getting the perfect exposure!
6. Find the perfect angle.
One of the biggest challenges of being a real estate photographer is finding the perfect angle to capture the room in it’s most attractive light. When you enter a room, walk around the outside of the room looking at it from all angles. Find the angle that shows the room in its most attractive light and set up your shot from there.
Often, you’ll find yourself backed into a corner, trying to fit the entire room into your shot. You can work around this challenge through creative positioning. For example, you can shoot through an open door or stand in a corner to get the widest possible perspective. Or you position yourself in the stairs, counter, or table for an all-encompassing overhead shot.
7. Use a tripod and your camera’s timer.
Breathing, involuntary muscle movement, or any other physical action can cause hand movements, which can distort your final image. Even the slightest hand movements can make interior shots blurry. This is especially true if you are shooting in a low-light environment or if you need a long exposure.
For crisp, clear photos, mount your camera on a tripod. Then set the camera’s built-in timer. This is more cost-effective than using a cable or wireless shutter release.
8. Learn how to post-process your images.
Due to the difficulty of taking photos in a confined space with less-than-ideal lighting, even the best real estate photographers are rarely able to produce perfect images in camera. This is where photo retouching and editing can come in. Through post-processing, you can brighten colors, increase contrast, crop unwanted sections, and more.
9. Practice, practice, practice!
The best way to get better at any aspect of your photography is to practice. The good news is that as long as you have a camera, practicing your craft should be fairly easy. Start with photographing around your own home. Don’t worry if it’s small, dark, or cluttered as this will only help you learn to deal with these situations on paid shoots. When you’re tired of your own place, ask your friends and family if they’d mind you taking a few photographs of their homes to try out a few new techniques. As long as you promise not to share the images, they will likely say yes.
Never practice on a paid shoot unless you’ve completed all your paid work and have a little time to experiment with a new technique that your clients might like even more. As long as you have a “safe” shot to deliver, trying out new ideas can be a great way to wow your clients. But you should never book a shoot without first knowing you can deliver what you promised to deliver. As in life, there are no shortcuts in photography, if you want to be the best, you have to put in the hard work to get there, so practice, practice, practice!
There are many other creative techniques to help you create the perfect real estate shot, but these nine tips should get you started on the right track. We hope that you have found these tips useful as you start your journey in the real estate photography industry.